How to Lay Crazy Paving in the Outdoors ?
0 commentsEver walked through a garden path or passed by someone’s house and been wowed by the beautiful outdoors, irregular, unique layout of stones underfoot? Well, that’s the charm of crazy paving. It is called crazy not because it’s chaotic, but because no two stones are alike. Whether you are looking to renovate your patio or give your pool a makeover, crazy stone pavers can add that earthy and artistic touch that feels organic and timeless. The best part is that you don’t have to be a pro to do it. With the right guidance and information, you can create a beautiful outdoor space and lay crazy pavement on your own.
Steps To Lay Crazy Pavers
It is a fun project and a great way to add uniqueness to your outdoor space.
Step 1: Choose the Right Stone
First and the most crucial step is to choose crazy stone pavers that suit your outdoor space. There are a lot of options such as Travertine, Sandstone, Limestone and Bluestone. Each stone type brings different colours and textures. The choice depends on your design vision, existing landscape design and home exterior. What kind of feeling do you want? Warm, coastal, cool or modern? The stone you choose sets the tone of the space. Ensure it is naturally slip-resistant and durable in all weather conditions.
Step 2: Prepare the Base Right
Preparation is everything. A solid base is key to ensuring that your paving lasts for years.
- Clear the Area: Remove all the grass, weeds and topsoil to about 100mm- 150mm deep. It is crucial for a good base setup.
- Level the Ground: Compact the soil using a plate compactor.
- Add your Base Layer: Cover the base layer with 75mm of crushed rock or a road base layer. This layer gives your paving a solid foundation.
- Screed the Bedding Layer: Add a 20-30mm layer of sand or mortar mix on the top, smoothing it out evenly. This bedding helps in supporting crazy pavement evenly and makes it easy to adjust the height as you go.
Step 3: Lay the Stones
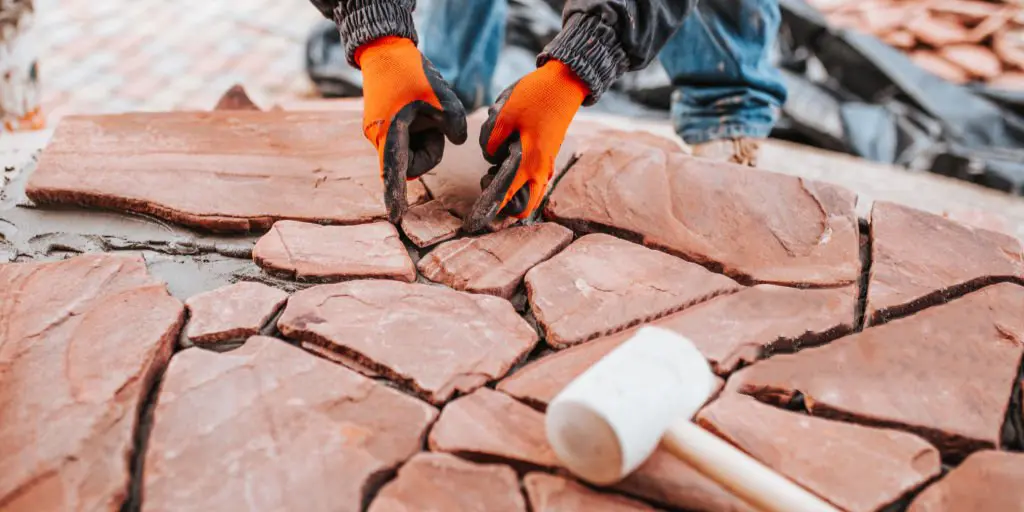
This is the fun part, placing crazy pavers.
- Start from one corner, fit the stones together like a jigsaw puzzle, leaving about 10 – 20mm gaps between them.
- To give a more stable finish, press each stone slightly into the bedding mix.
- Before moving ahead, check the layout and maintain the balanced look. You can also use a hammer or grinder to trim any oversized pieces if needed.
Step 4: Grout the Gaps
Once all the stones are laid and you are happy with the pattern, it’s time to fill the gaps.
- Use a mortar mix or flexible paving depending on the finish you want.
- Make sure the grout is evenly distributed throughout the joints by using a sponge and clean the excess before it dries.
- After completing, let it dry for 24-48 hours before you start walking on it.
Step 5: Sealing
Sealing your crazy paver stone helps to protect them from stains, water damage and fading, especially in high-traffic and poolside areas. Use a high-quality sealer for lasting effects.
Final Thoughts
Laying crazy pavers is a creative process, from picking out the stone to piecing together in a pattern. It brings both beauty and personality to the outdoor space. With little patience and high-quality material, you can create a beautiful outdoor space that lasts for years. So, what are you waiting for? Grab your gloves and get started!


